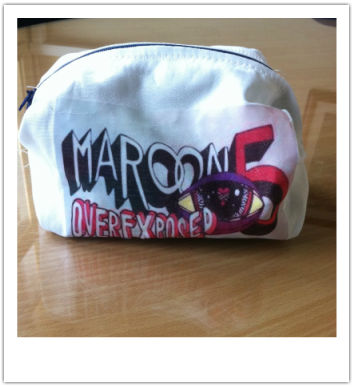
 Just want you guys to know that I did not create the pattern for the pencil case, it was made by Anneorshine, but I thought I would share this idea. I thought of the iron on design myself. What you are gonna need: -White Fabric -Iron on Transfer paper -A printer - A sewing machine -A zipper - Scissors -An iron 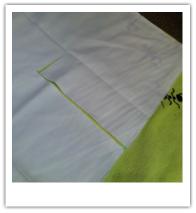 Step 1 First you want to cut your fabric to size (38.1 cm by 25.4 cm). 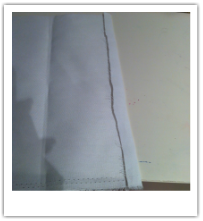 Step 2 Next you want to fold down the edges of your fabric to create a hem. Use an iron to make sure it stays down. 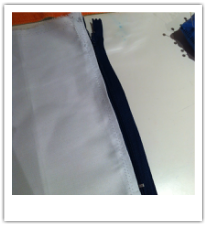 Step 3 Now you can pin and sew one side onto the zipper. Remember to use the zipper foot on your sewing machine.  Step 4 Then you want to print your out your design onto iron on transfer paper. When you print it out make sure it's backwards. Make sure it's the right size to fit your fabric. 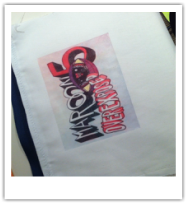 Step 5 Cut out your design and iron it onto your fabric. 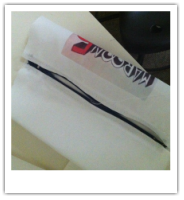 Step 6 Sew the other side of the fabric to your zipper. When you do this unzip the zipper so it's easier to sew. 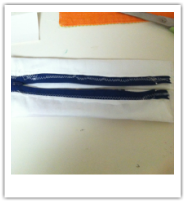 Step 7 Turn your fabric inside out and fold in the sides. Pin then sew the sides. After this turn your pencil case inside out and your done! Hope you guys enjoyed this DIY! I really enjoyed making this and I am very proud of it. You can Also use any sort of design you want, like below I have a pencil case I made for my Grandma. 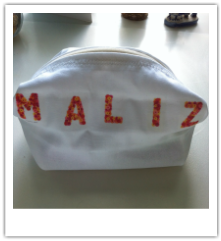
0 Comments
Your comment will be posted after it is approved.
Leave a Reply. |
AuthorHi it's Elise :) I post every Saturday, so check in then to see new posts. Archives
June 2017
Categories
All
|
 RSS Feed
