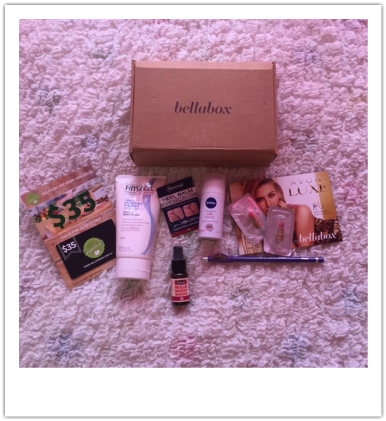
 Sadly this is the last Bella Box review, but don't worry, next month I will be starting to do my monthly favourites! 1. Physiogel Hypoallergenic Daily Moisture Therapy Body Wash for Dry, Sensitive Skin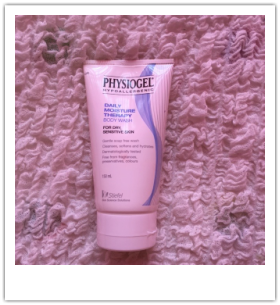 When I used this, at first it felt gross and sticky, but when I added some more water, it foamed up really well. It feels very moisturising before and after using it. It sadly doesn't have a scent, which is what I like the most about body washes. Overall I give it an 8/10 2. Avon Luxe Couture Creme Lipsticks in the shades Silky Apricot and Polished Rose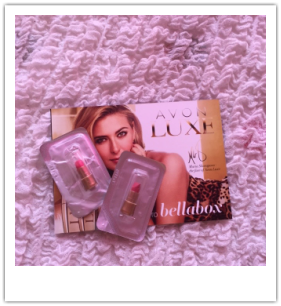 These lipsticks were very creamy and easy to apply. But I feel like they would slide off due to their creaminess. They also smell really good. The lighter shade was Silky Apricot and the darker shade was Polished Rose. I don't mind either shade, but they are a bit too pink for me. I would recommend Silky Apricot for day wear and Polished Rose for night wear. Overall I give them an 8/10 3. Nivea Anti-Perspirant Silk Touch Deodorant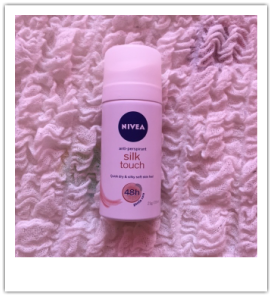 I really like that this is a travel size, so it will be easy to bring to school to use after PE. It has a very strong scent, so it would be able to mask bad smells. If one of your friends has asthma, this wouldn't be the best to use around them, as the scent is so strong. It leaves your skin feeling soft and refreshed. Overall I give it a 6/10 4. Designer Brands Kohl Eyeliner in the shade Violet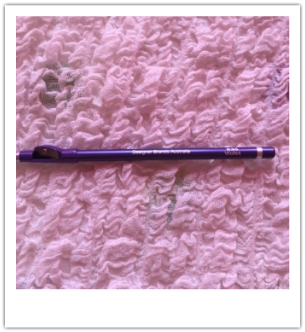 This eyeliner is very easy to apply to your waterline, but not as easy for you top lash line. The pigmentation is decent, but not amazing. I recommend this for people who want a cheap eyeliner that's reasonably good. Since it's in the colour violet, I most likely won't be wearing it much, but it's still fun to have. Overall I give it a 7/10 5. Swisse Micellar Makeup remover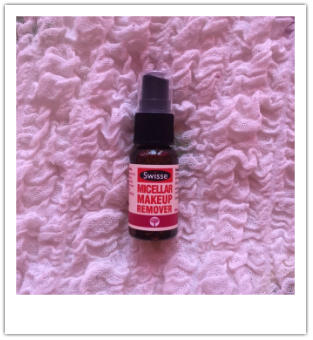 To properly test this, I applied foundation, eyeshadow, lipstick and mascara to my face. It is really easy to use and mess free. But it does smell a bit weird and my face feels really gross after using it. It removed allot of my makeup, but I would still wash my face after using it. After using it I used a makeup remover wipe, and more makeup came off. So you may as well just use a makeup remover wipe. Overall I give it a 4/10 6. Hello Fresh $35 Voucher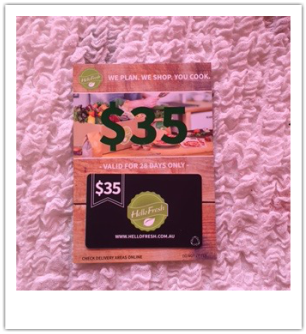 This seems like a really good idea for people who don't have time to shop or plan meals. I haven't bought anything from this site yet, but it seems really easy to do and order. Overall I give it a 7/10 Hope you guys enjoyed this post!
0 Comments
If you are feeling inspired to design something, and don't know where to start, a mood board is good to help get some ideas. This mood board I created is for a sewing organiser I am making for school, but you can make one for anything, like if you are designing a room. Even if you're making a painting, a mood board could help to organise your ideas. Step 1: Find something to inspire you This could be anything from a picture with your friends to an object in your room! Anything that you think looks great will work well. This is the picture that inspired me to create this mood board. It was originally my phone background and I love the colour combinations. Step 2: Pick a colour scheme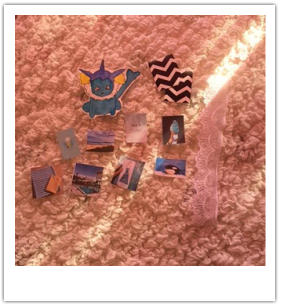 Once you've found your object/picture, you can use the colours from it to help decide what colour scheme you want for your design. My colour scheme for my organiser is mint green, blue, black, white and yellow. After you decide your colour scheme you need to find other things that fit into the theme. I found a pokemon watercolour drawing, and it matched my colour scheme perfectly. I also used some pictures from my instagram to give it a personal touch. You can also use some sort of fabric or lace, to give yourself an idea of what sort you will use in your design. These are the pictures I used. Step 3: Placing the pictures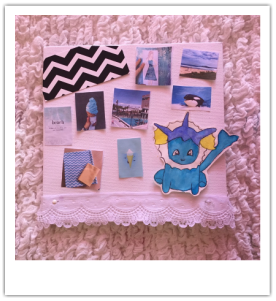 This is the best part. Place all you things onto a surface and take a photo. I used a canvas to glue and tack on my pictures, drawing and lace. I did quite a small one, but you can make it as big as you want. I now display my mood board in my room, because I really liked the colour scheme. Now that you have made your board, you are ready to start designing the product/room! Hope you guys enjoyed this post and it helped you create a great design. Sorry i've been doing a lot of design posts lately, but next week I will be doing my last bella box review, so get excited for that. Anyway see you all next week!
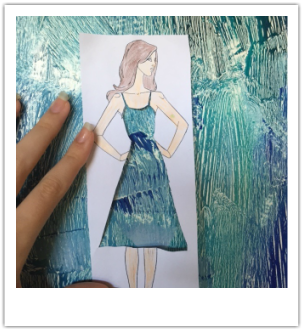
 This is surprisingly easy to do. All you need is a fashion figure (I have linked some below), some cotton buds, diluted food dye, a bowl and some pencils. Step 1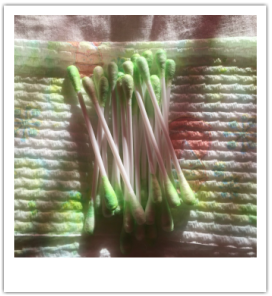 First you need to get your food dye, water and bowl. Then add about 2 tablespoons of water, give or take, and then add a few drops of food colouring. Then dip your cotton buds into the solution. Then let them dry before moving onto the next step. Step 2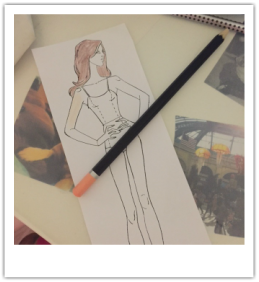 Print out your fashion figures. then colour it in however you want. Step 3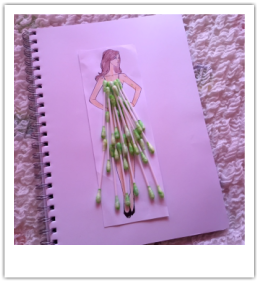 This is the best part. Now you need to position all the cotton buds on the fashion figure in a dress shape. You will know when it's done. Bonus dresses!
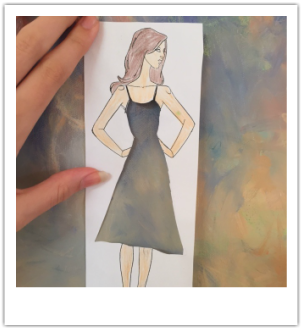
This is also very easy and fun to do! You will again need a fashion figure (linked above), scissors, a pencil and an imagination. Step 1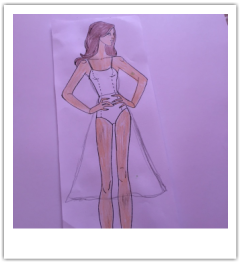 First you need to trace the outline of the dress you want. This won't take too long. Step 2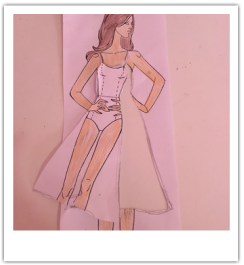 Now you need to cut out the dress outline. use some scissors or an x-acto knife. Cut a hole in the middle, then work you way to the edges. Step 3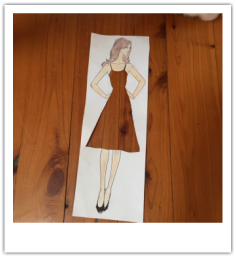 Now all you need to do is find cool backgrounds for the dress. I used paintings and wooden flooring. Share your dresses with me on instagram, facebook or twitter!
|

 |  |
All of this is from a few trips to different places over the six week holidays. Some were on sale and some I used gift cards for. I will be listing what the item is, how much it was and where I got it. Just a side note some of the things I bought were bought by other people.
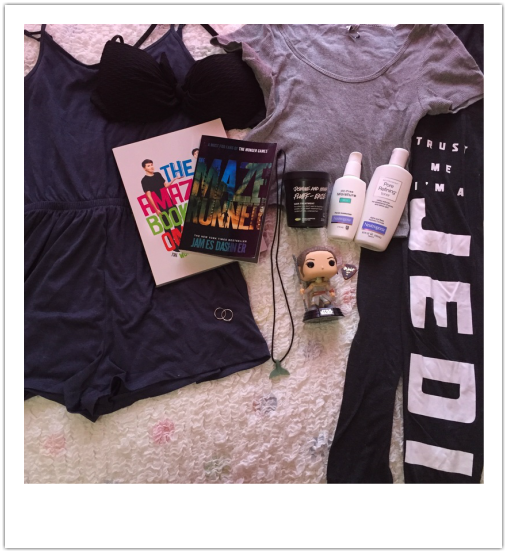
1. Navy blue jumpsuit was $15 from H and M
2. Black bikini top was $10 from H and M (on sale)
3. The Amazing Book Is Not On Fire was $32 from Dymocks (gift card)
4. The Maze Runner was $17 from Dymocks (gift card)
5. Sterling Silver rings were $3 from Lovista (they were 3 packs of 2 for $10 and I split it with 2 friends)
6. Whale tail necklace was $16 from Gnostic Rocks
7. Grey crop top was $15 from General Pants Co
8. Lush Jasmine and Henna fluff-ease hair mask was $27 from Lush
9. Neutrogena Oil Free Moisturiser was $14 from a chemist (you could get it from Priceline)
10. Neutrogena Pore Refining Toner was $15 from a chemist (same as above)
11. Rey pop figure was $15 from Zing (coupon for any pop figure $15)
12. Guitar pick was $1 from a music shop
13. Star wars sweatpants were $35 from Forever 21
Hope you guys enjoyed this post!
Author
Hi it's Elise :) I post every Saturday, so check in then to see new posts.
Archives
June 2017
September 2016
August 2016
July 2016
June 2016
May 2016
April 2016
March 2016
February 2016
January 2016
December 2015
November 2015
October 2015
September 2015
Categories
All
Back To School
BellaBox Reviews
Christmas
Design
DIY'S
Easter
Fashion/Lookbooks
Favourites
Food
Game Reviews
Hair Tutorials
Haul
Makeup Tutorials
Organisation
Room Decor
Technology
Travel
 RSS Feed
