 I thought I would start a little series where every month when I get my bellabox, I will review the products inside and rate them out of ten. This month I got six products. 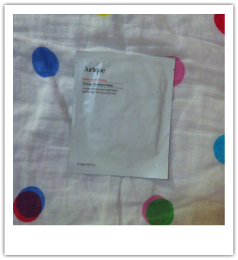 1, Jurlique Purely age-defying firming treatment mask Positives: It smells really good and has a lot of product on it. It is also quite fun to use. Minuses: It didn't really fit my face that well and it got in my mouth. Also the neck part is quite annoying. Its not terrible, but it's also not life changing. I give it a 5/10 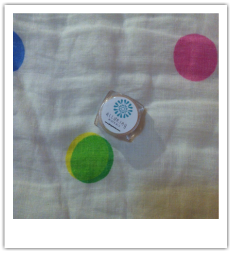 2. Alluring Minerals mineral illumiser Positives: It adds a nice shine to your skin and feels soft. Minuses: It comes off easily and it is messy. Overall I give this product an 8/10 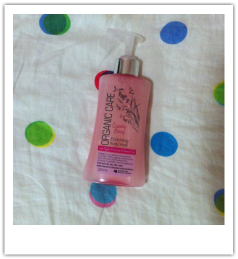 3. Organic Care body wash. Positives: It smells good and lingers for a bit. It is quite moisturising at first. Minuses: The moisture doesn't last all day and the scent doesn't either. But that is not terrible. Overall I would give it an 9/10 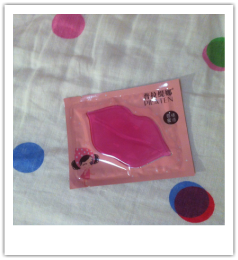 4. Pilaten Collagen lip mask Positives: It is very wet and soft, it feels like jelly, which is fun. It also sticks easily to your lips. Minuses: It breaks very easily and it is much bigger then my actual lips. It takes up the whole chin area. It is also not that effective. Overall I give this product a 6/10 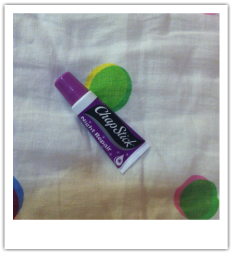 5. Chapstick overnight repair Positives: It's smooth and easy to apply. It feels soft. Minuses: It is not that effective and the softness only lasts for about an hour. As I used it more, the better it got, so it does make your lips softer. Overall I give this product a 6/10 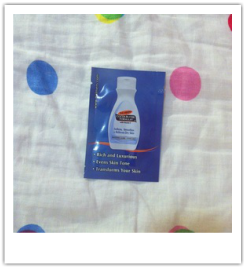 6. Palmer's cocoa butter formula with vitamin e Positives: Very moisturising and it smells really good. Minuses: It doesn't last that long. Overall I give this product a 8/10 All of the products got a score out of ten. I added them together to get 42/60. Every month I will do this and at the end of six months, I will rank them from the best to the worst.
3 Comments
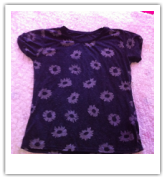
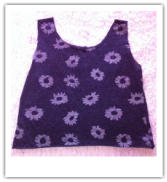
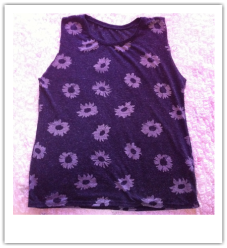 Step 1: Cut off the sleeves This will turn your shirt into a singlet. 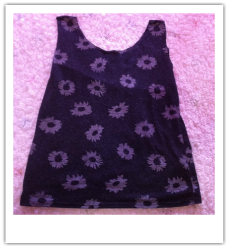 Step 2: Cut off the collar This will make the straps thinner, which will look better. 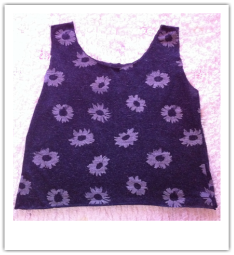 Step 3: Cut off a bit from the bottom Here you can customise how short or long you want your shirt to be. After this hem the edges. And now your done! This is a very simple DIY which can be done to any shirt you want. You can also make your design more advanced by making the straps into braids, by cutting the straps into three and braiding them together, but I decided to leave mine as it is.
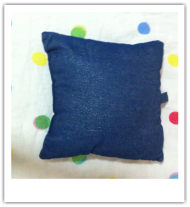
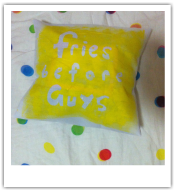
 Step 1 Make your pillow case or buy one. I showed how to make one on another post. 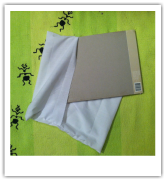 Step 2 Put some cardboard inside your pillow to make sure the paint doesn't go through. 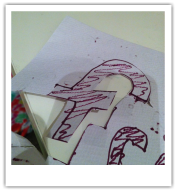 Step 3 Draw your letters on the cardboard and cut them out. 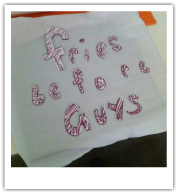 Step 4 Glue the letters in the places you want on your pillow. 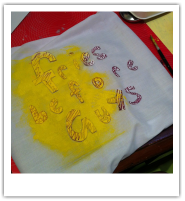 Step 5 Sponge on your desired colour ( I chose yellow) and make sure all the letters have been covered. 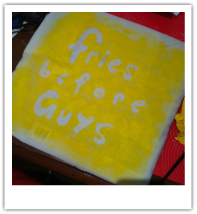 Step 6 Peel off the letters to reveal your design. After you do this, wait for the paint to dry and then put it on the pillow. Hope you guys liked this DIY and request any you want me to do in the future.
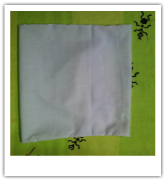
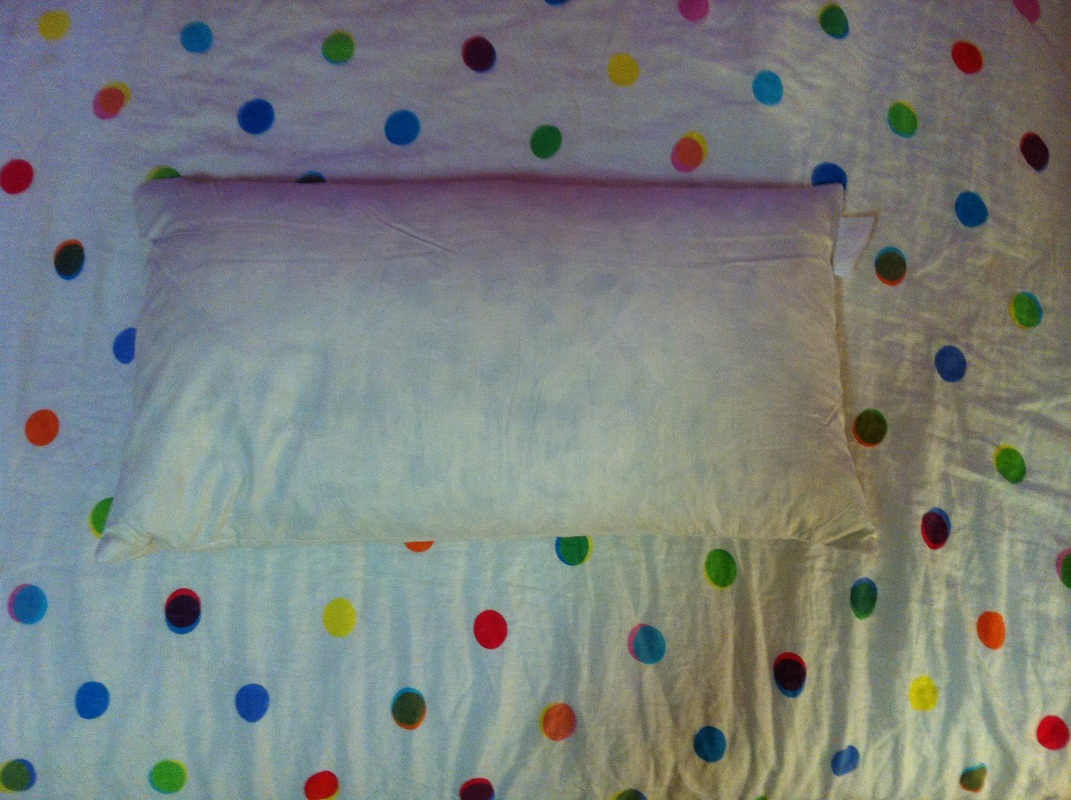
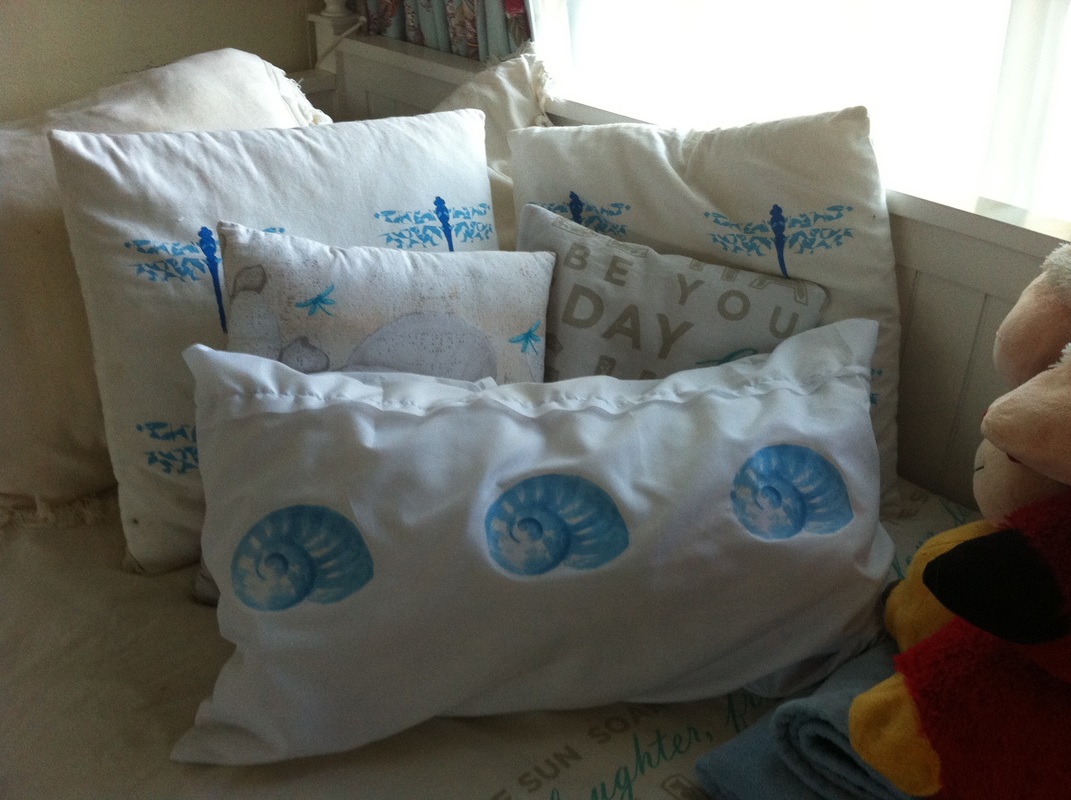
Hey guys today I am going to teach you how to make a DIY shell pillow case. The things you will need are: -Fabric -A Sewing Machine -Thread -Iron on transfer paper -A Printer -Scissors -Measuring Tape -Pins -A pillow 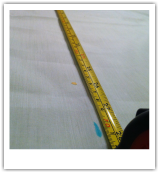 Step 1 Measure your pillow. Mine was 14 " by 26". Then double the length. To make sure it doesn't get too small when you sew it add 2 inches to the width and 8 inches to the length. 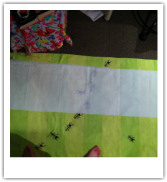 Step 2 Cut it out and make sure it's straight 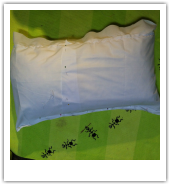 Step 3 Put your pillow on top of the fabric and fold into the middle. Then pin down the middle. 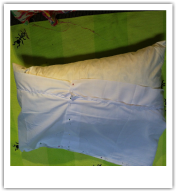 Step 4 Take the pillow out and pin both sides. Take out the pins down the middle. Then sew the sides. You can leave your pillow like this but I decided to put some seashells on it. 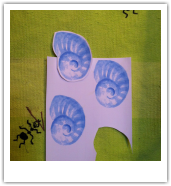 Step 5 Print out your design onto iron on transfer paper. Make sure you mirror your mage, otherwise it will be backwards. Then cut out your pictures. 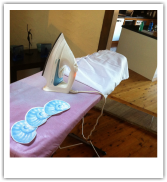 Step 6 Heat up your iron and iron your pillow case. Then place the pictures in the right places for your design. 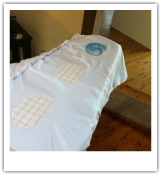 Step 7 After ironing each one for 30 seconds or so, peel off the backing paper and your left with your design. 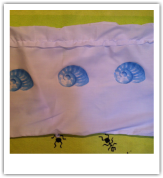 And your done! Now just put your pillow where ever you want! You can do this to make many other pillows for your room.
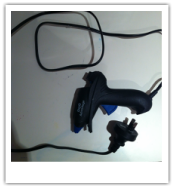
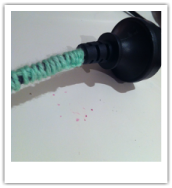
This is a very easy DIY which can be used to cover any sort of cord. Headphones, chargers, anything you plug into a wall.
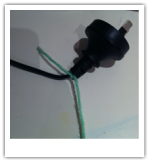 Step 1 Tie a knot on the end of the cord 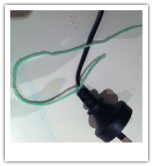 Step 2 Make a four shape with the wool 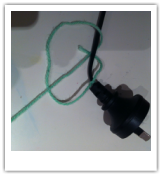 Step 3 Put the end through the loop you just created 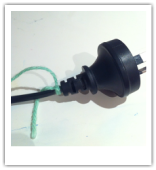 Step 4 Repeat this knot until you finish! 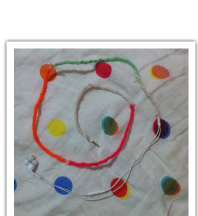 I just wanted to show you guys my headphones ^^that I covered (above). Hope you guys liked this quick DIY to make your chords pretty. This DIY was inspired by a friend of mine. I don't know if she wants her name here, but you know who you are. :)
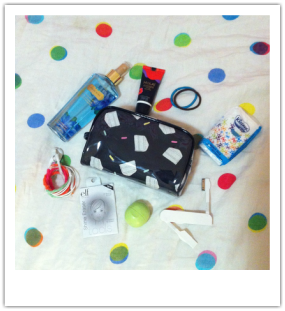 Here are my essentials which I always have in my backpack when I'm at school. 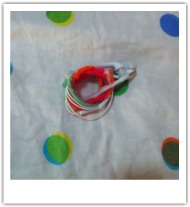 1. Headphones These are pretty self explanatory. I use them when I'm allowed to listen to music in class. I also wrapped them in wool so they wouldn't get tangled.
 3. Portable Charger This is really useful and you can also transfer files as well. It charges iPhone 4/4s, iPhone 5/5s, iPhone6/6+ and some android phones. 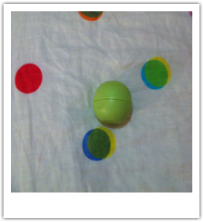 4. Lip balm One of the most essential items you need in your bag. Especially in winter.  5. Oil blotting sheets Good to use after PE to get rid of shine. 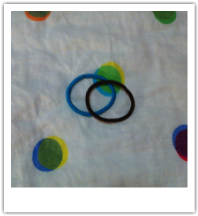 6. Hair Ties When you have PE and you need to put your hair up. 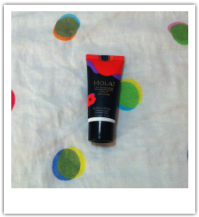 7. Body Lotion When you forget to moisturise your legs in the morning, you can do it at school. 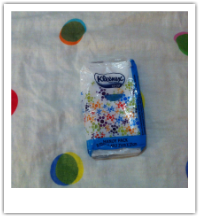 8. Tissues If you have a cold or spill something these will help a lot. Hope this helped you guys! I will post something next week, so if you have any requests, please send them to me. :)
|
AuthorHi it's Elise :) I post every Saturday, so check in then to see new posts. Archives
June 2017
Categories
All
|
 RSS Feed
