|
Hey guys, just want to let you all know that I haven't tried this before, so it might not look the best. What you need: -White Face paint - Orange Face paint - Black Face paint - Blue Face paint - Translucent powder/white eyeshadow - Mascara - Eye liner - Sponges - Brushes -Black Clothing -A flower crown -A glue stick 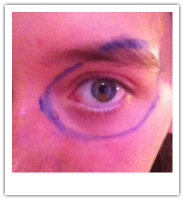 Step 1 Draw an outline around your eyes with your blue face paint. 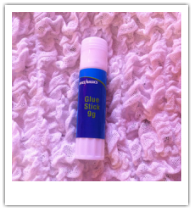 Step 2 Prime your eyebrows with the glue stick before you start applying face paint. 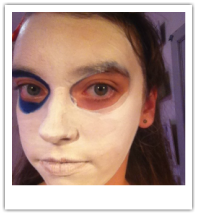 Step 3 Cover your face with white face paint, besides the blue outlines you made before. Make sure you wet the face paint before applying it. Then set it with white eyeshadow or translucent powder. 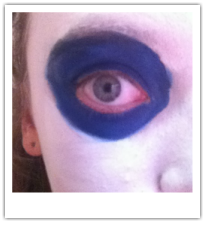 Step 4 Next you want to get your blue face paint and fill in the circle you just made. You can use your black to ombre it if you want. This will add some more shadows to your face, making it look cooler. 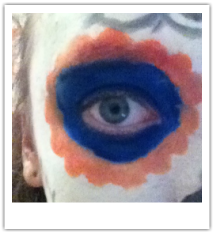 Step 5 You now can take you orange face paint and do some half circles around your face. Then fill them in. 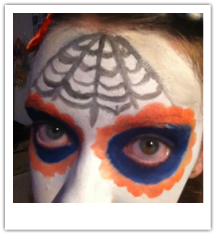 Step 6 Now for the fun part. This is when you get to decorate you face with whatever you want. I did a spider web on my forehead and a flower on my chin. 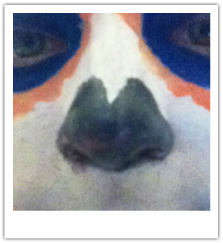 Step 7 Now outline your half circles from earlier as well as making your nose into a skull nose. Use the black face paint and paint a circle. Then draw 2 triangles above the circle. This will join together to make the nose.  Step 8 Now to do your mouth. Use the black face paint to draw lines over your mouth. Then paint another 2 lines from each corner of your mouth. Then add some lines onto the lines you just drew. This will create the look of a skull. 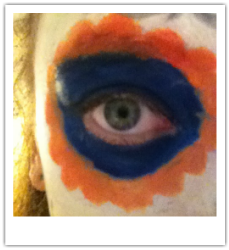 Step 9 Now set everything with the translucent powder. Now all you need to do is line your eyes and put on a bit of mascara. 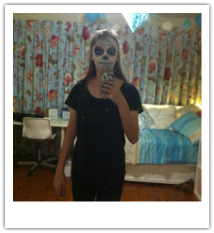 Step 10 Now find an all black outfit. I recommend a black dress, but mine didn't fit me anymore sadly. So I have a black shirt and leggings instead. Don't forget to wear a flower crown as well to finish the look. Hope you guys enjoyed this post! I've decided I will also be posting on Wednesday, as well as Sunday. Also thank you guys for 75 views last week!
1 Comment
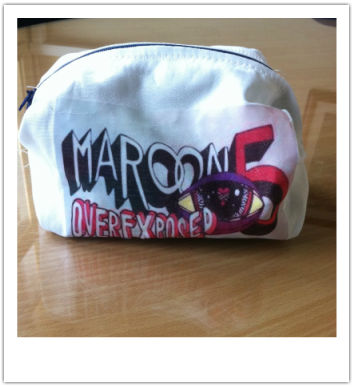 Just want you guys to know that I did not create the pattern for the pencil case, it was made by Anneorshine, but I thought I would share this idea. I thought of the iron on design myself. What you are gonna need: -White Fabric -Iron on Transfer paper -A printer - A sewing machine -A zipper - Scissors -An iron  Step 1 First you want to cut your fabric to size (38.1 cm by 25.4 cm).  Step 2 Next you want to fold down the edges of your fabric to create a hem. Use an iron to make sure it stays down. 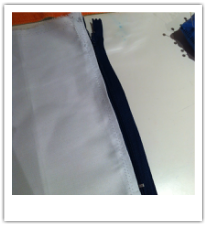 Step 3 Now you can pin and sew one side onto the zipper. Remember to use the zipper foot on your sewing machine.  Step 4 Then you want to print your out your design onto iron on transfer paper. When you print it out make sure it's backwards. Make sure it's the right size to fit your fabric. 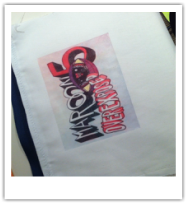 Step 5 Cut out your design and iron it onto your fabric. 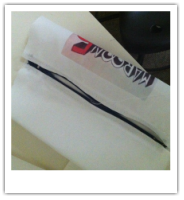 Step 6 Sew the other side of the fabric to your zipper. When you do this unzip the zipper so it's easier to sew. 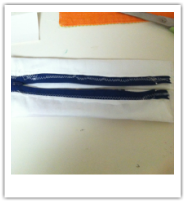 Step 7 Turn your fabric inside out and fold in the sides. Pin then sew the sides. After this turn your pencil case inside out and your done! Hope you guys enjoyed this DIY! I really enjoyed making this and I am very proud of it. You can Also use any sort of design you want, like below I have a pencil case I made for my Grandma. 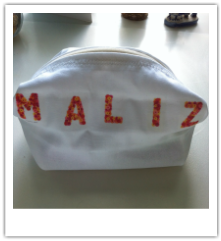 I found all these snacks at an Asian supermarket. I'm not exactly sure what country they are from, but I think they are from Japan.  Rainbow Cake This cake was really good! It was quite big, which was good. The cream inside was not too creamy, which I liked. It also looks really cool, so that's a plus. I give it a 10/10 there was nothing wrong with it. 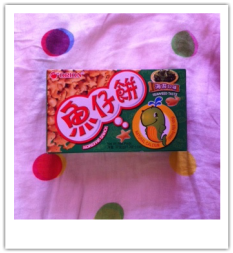 Seaweed taste chips These were a bit weird, but still good. They were shaped like whales and other sea animals. They tasted like seaweed, but they smelt weird, so that was bad. I still ate the whole packet though. I would give them a 7/10 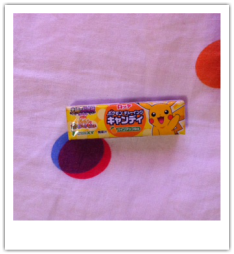 Pikachu Chewing Gum This was really good! The only weird thing was that the gum dissolved within five minutes, which was a bit disappointing. But they tasted like pineapple, like they were supposed too. The wrappers were wrapped with these papers that had pokemon on them, which was cool. Overall I give these a 9/10 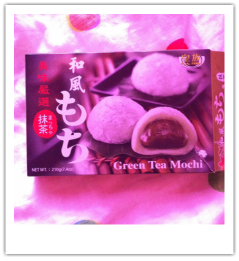 Green Tea Mochi At first these seemed okay, but once I tried them I realised they weren't. I really didn't like these. they were very squishy and the inside didn't taste that good. I would recommend another flavour, like strawberry. I give these a 0/10 Next week I am going to make a DIY pencil case so get excited! 😄
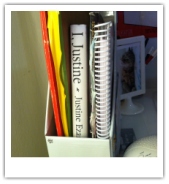 1. Use a Magazine Holder to organise your school books. All you need to do is put a magazine holder on your desk and then you can put all your school books inside. You can also put your timetable on the side so you know which books you need to take. 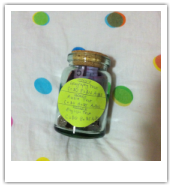 2. Reward Jar This jar will help you reward yourself when you do well in a test or assignment. Put your goal grades on with post it notes, and write how much you will reward yourself if you achieve that grade. This will encourage you to study more, as you get a reward after. Put some money in and start making goals! 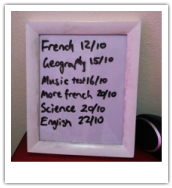 3. Photo Frame Assignment/Test list All you need is a photo frame and a white board marker. Write all your assignments and tests on there to help remind yourself to study. This is good so you won't forget about your tests and assignments. 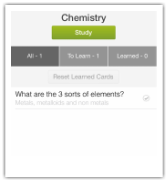 4. Flashcard App This is very handy and easy. All you need is to get the app Chegg Flashcards plus. You can then access your flashcards whenever you want! This is good because you can study at any time. This also helps the environment, as you're not using any paper.  5. Have a study playlist A study playlist is essential to making sure you concentrate when you study. The best place to find one is on Spotify. I use the playlist Deep Focus Piano Study Playlist. It relaxes you so you can study without distractions. Hey guys, I have decided I am going to be posting once a week. Every Sunday I will be posting something.
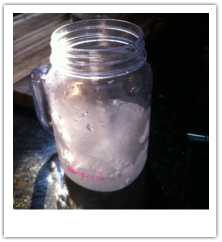
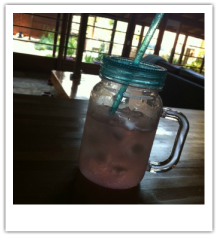
What you're gonna need: - Ice cubes - A blender - Pink Lemonade _ A fancy cup
 What you're gonna need: -Apple Juice -Frozen Rasberries -Frozen Blueberrries -Pineapple -Ice -A Blender 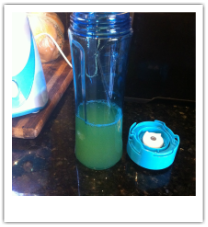 First you want to put your desired amount of juice into the blender. For this step, you don't have to use apple juice, but it goes with most fruits. 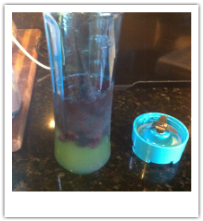 Next you want to put in your fruit. Frozen fruit is good to make sure your juice is cold. It also creates a nice texture. Then put in your other fruit, like my pineapple. 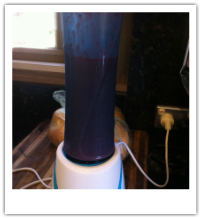 Next you want to put in your ice. Then blend it all together until there are no lumps. 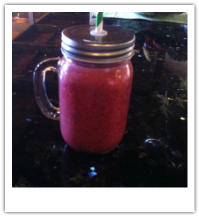 Put it in a fun jar and then your done! This juice is one of many different sorts of juices you can make. Next I will do a green juice.
|
AuthorHi it's Elise :) I post every Saturday, so check in then to see new posts. Archives
June 2017
Categories
All
|

 RSS Feed
